Tea, Steam and Biscuit Crumbs: A Mini Green-Screen Guide to Kitchen Inserts
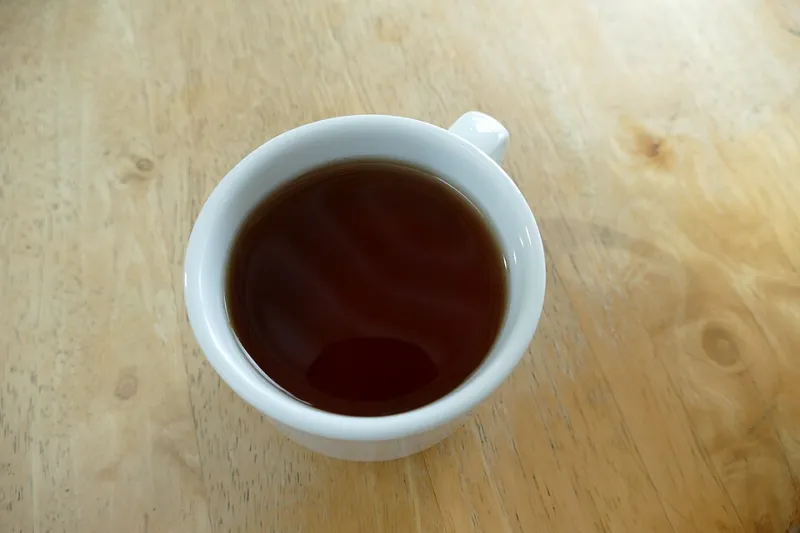
Photo: Kritzolina, CC BY-SA 4.0, via Wikimedia Commons
Food inserts are the quiet heroes of kitchen scenes. A cup of tea, a biscuit breaking, a full English going down — they sell the scene more than a wide shot ever will. But they are also fiddly: steam moves, tea reflects everything, and crumbs have a mind of their own. This is the mini green-screen method I use for inserts on a low budget, with a step-by-step setup and post tips for UK creators.
Why a mini green screen, not a full one
You do not need a 3m backdrop to shoot a mug. A sheet of A3 green card, a green plastic chopping board or a small fabric panel is enough for most inserts. The point is to replace the background behind the subject — the wall, the window, the ugly kitchen tiles — not to key the food itself. Keep the item on a real surface that matches the final scene, and put the green behind it. That way the tea is not reflecting green, and the crumbs are not falling onto a green screen.
For a full English, put the plate on a real table or worktop and use a larger green card behind the plate. For a biscuit dunk, a small green card behind the mug is fine. For a top-down shot of a biscuit on a plate, you may not need green at all — just shoot on a clean surface and composite the background in post.
Step 1: Match the kitchen light first
Before you set up the green screen, look at the kitchen you are matching. Is the key light coming from a window on the left? Is there a warm overhead lamp? Is the light soft or hard? Note the colour temperature and direction. Then recreate that on your insert set with a small LED panel, a diffuser and a white bounce card.
Set your camera white balance to the final scene, not to the green screen. If the kitchen is warm and the green screen is cool, the key will still work, but the food will look wrong. Use a grey card to check exposure. Keep the highlights on the plate and the mug under control — beans and bacon are shiny, and clipped highlights are hard to fix.
Step 2: Build the mini set
Clamp the green card behind the subject. Keep 30–50cm between the subject and the green to reduce spill. Light the green evenly with a small soft source; if it is patchy, the key will be patchy. Flag any warm light off the green so it stays neutral.
Use a tripod and lock focus manually. A 50–100mm equivalent lens is good for inserts; it compresses the scene and keeps the background soft. Shoot at 25fps for normal speed and 50fps or 100fps for crumbs and pours. A shutter speed of 1/50 is a good starting point.
Step 3: Tea, steam and reflections
Tea is the hardest part. The surface reflects everything, including green. Keep the green card behind the mug, not above it, and use a black flag to stop green bouncing into the liquid. Do not try to key the tea; mask it with a garbage matte and rotoscope the rim if you need to.
For steam, real is best. Boil a kettle, pour into the mug and shoot immediately. Backlight the steam with a small LED or a torch so it shows against the background. If you are shooting against green, the steam will pick up green fringe — so shoot a separate steam plate against black and composite it with a Screen or Add blend mode. That gives you control and avoids a green halo.
Add a small white bounce to create a highlight on the tea surface. A drop of milk gives you a swirl without stirring. Shoot a few takes; steam is unpredictable.
Step 4: Biscuits and crumb physics
Use real biscuits. A digestive or a Hobnob breaks differently from a rich tea, and the camera will notice. Shoot the break over a plate, not over the green, and keep a crumb tray underneath. For slow motion, shoot at 100fps and conform to 25fps. Crumbs look best when they are real and slightly chaotic.
For a dunk, use a sturdy biscuit and a mug with a wide rim. Shoot at 50fps so you can see the tea soaking in. Do not over-rehearse; the third or fourth take is usually the one where the biscuit collapses naturally. Keep a spoon and a cloth handy.
If you need crumbs to fall in front of a replaced background, shoot them against a black card and composite with a Screen blend. Keying individual crumbs is possible but tedious; a luma matte is faster.
Step 5: The full English
A full English is a composition problem. Build the plate for colour: bacon, egg, beans, sausage, mushroom, tomato, black pudding. Keep the beans in a small ramekin if you want a clean look, or let them run for a more casual shot. Brush the egg with a little oil for shine, but avoid greasy highlights.
Put the plate on a real surface and use the green card only behind it. If you are replacing a window, shoot a plate of the window first and composite it in. Add a hidden kettle or a spray of water on a hot griddle for steam — but keep it away from the green.
Step 6: Post-production
Key the background with a delta keyer or Keylight. Despill the edges, add a garbage matte around the food and match the grain. Add a light wrap so the food feels like it belongs in the kitchen. For steam, use a Screen blend and lower the opacity until it is subtle. For reflections, mask them back in by hand — a little reflection sells the tea.
Grade the insert to match the kitchen: warm the highlights, cool the shadows if the window is cool, and add a soft vignette. Do not over-sharpen. Food looks better slightly soft.
The short version
Shoot on a real surface, put the green behind the subject, match the kitchen light, shoot steam against black and use real crumbs. That is the whole trick. The mini green screen is not there to make the food fake; it is there to make the background disappear.