The Shoestring Garage Volume: What Micro Virtual Production Really Costs at Home

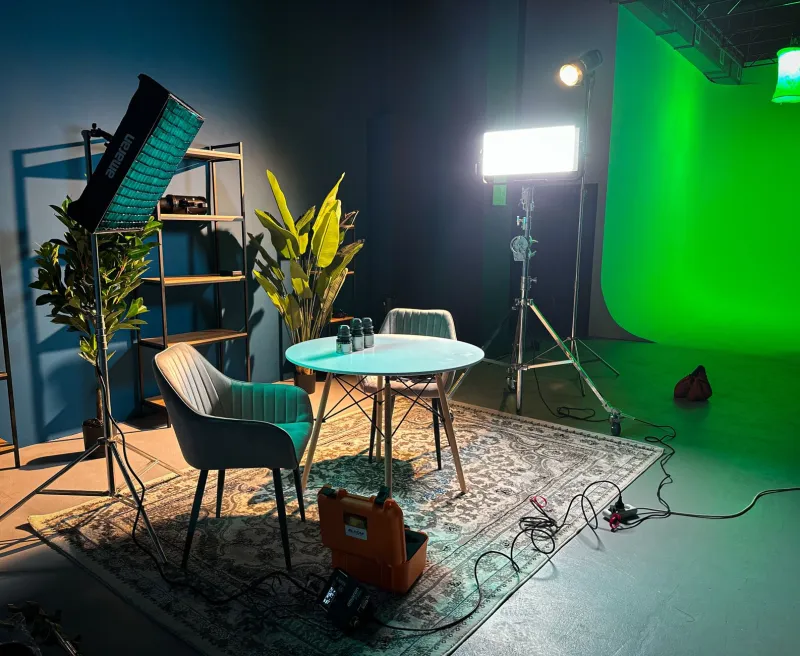
Photo: small garage LED video wall virtual production home studio, via 7esl.com
First, kill the fantasy
A micro volume is not a full LED volume. It is one wall, maybe a short return panel, a consumer camera and a lot of compromise. In a UK garage or spare room, that compromise is the whole game. You are not building The Mandalorian in your dad’s garage. You are building a controllable background that gives you parallax, in-camera lighting and a faster post workflow than a green screen.
That is still worth doing. A 2m x 1.5m LED wall can transform a medium shot, a music video performance or a sitcom-style two-hander. It will not give you a sweeping wide. It will not replace a proper stage. But it can be built for roughly £900-£2,000 if you are patient, careful and honest about what you need.
Space planning for a real UK garage
Start with a tape measure, not a shopping list. A typical single garage is about 2.7m wide by 5m long with a 2.3m ceiling. That is enough for a 2.2m wide wall, a camera 2.5-3m back and a narrow walkway. It is not enough for a full curved volume and a crew of six.
You need blackout, ventilation and a clear exit. Garages are damp, dusty and often unheated, so check for leaks and give the space a day to dry out before you rig anything. If you rent, get permission in writing. If the garage is attached to the house, think about noise and fumes from any tools or heaters. Keep at least 800mm of walkway and do not block the door.
The wall itself should be floor-standing. Do not hang heavy panels from a garage roof unless a structural engineer has told you it is safe. A simple wheeled frame or a rated truss base is far less exciting and far more sensible.
Panels, processor and the real cost
Second-hand 500mm x 500mm P3.9 panels are the sweet spot for micro-budget builds. They are not cinema-grade, but they are bright enough for a controlled space and they are widely available from ex-hire stock, AV clearances and marketplace sellers. Aim for panels with at least 1,000 nits and a high refresh rate, and buy one spare if you can.
A 2m x 1.5m wall needs 12 panels in a 4 x 3 arrangement. At £60-£110 per used panel, that is £720-£1,320 before you have bought a processor. A basic LED processor will be £120-£300. Cables, rigging and a frame add £100-£250. Blackout, ventilation and PAT testing add another £70-£150. A single-wall build lands around £1,000-£1,900. Add a side return of four panels and you are pushing £1,300-£2,300.
That is not pocket change, but it is a long way from a studio quote. The trick is to buy the processor and panels together if possible, test everything before you pay and accept that older panels will have uneven brightness.
Power and safety: the bit people skip
LED panels are more efficient than tungsten, but a wall is still a load. Twelve panels at 120W each is 1.44kW. A normal UK garage socket on a 13A circuit can handle that, but not if you also run a heater, a kettle and an air compressor. Put the wall on its own circuit if you can. Use an RCD. Do not daisy-chain extension leads. Get second-hand kit PAT tested.
Keep cables off the floor where people walk. Use cable ramps. Keep a fire extinguisher nearby and do not block ventilation. If the garage is cold, let the panels warm up before a shoot and watch for condensation. If anything smells hot, stop. This is not the part to improvise.
Camera, sync and flicker
A phone or a mirrorless camera can work. Lock exposure, white balance and focus. In the UK, shoot at 25p with a 1/50 shutter as your starting point; if you see banding, try 1/100 and adjust the panel refresh. Consumer cameras do not have genlock, so perfect camera-to-wall sync is not on the menu. You manage it with locked settings, a static camera or a simple slider, and a lot of testing.
For real-time tracking, be realistic. Free tools exist, but they are not magic. Blender’s camera tracker is excellent for post-production tracking. Unreal Engine’s Live Link VCAM with an iPhone can give you a rough previz feed, but latency and drift are real. If you need repeatable in-camera VFX with a moving camera, you are into proper tracking hardware and a bigger budget. For a garage volume, start with static shots and simple moves.
The scene: Blender to Unreal without a subscription
Build your set in Blender because it is free and familiar. Keep it simple: a 3m x 3m environment, a few hero props, emissive surfaces where you want practical-looking light and no expensive ray-traced nonsense. Then move it into Unreal for real-time playback. Unreal is free for most small creators, and it will play back a simple scene on a decent laptop.
Output to the LED processor at the wall’s native resolution, not 4K. A 2m x 1.5m P3.9 wall is roughly 512 x 384 pixels per panel arrangement, so plan your scene around that. Use a second laptop or a media server to run full-screen playback over HDMI. For dialogue, play guide audio separately and slate every take. You do not need timecode for a garage shoot; you need discipline.
A realistic cost sheet
| Item | Approx cost |
|---|---|
| 8-12 used P3.9 500mm panels | £480-£1,320 |
| LED processor | £120-£300 |
| Cables, rigging and floor frame | £100-£250 |
| Blackout, ventilation and PAT testing | £70-£150 |
| Optional four-panel side return | £240-£440 |
| Total single wall | £770-£2,020 |
That excludes the camera, lens and computer, which most readers will already own. It also excludes the most expensive item: time. Budget a weekend for the build, a day for testing and another day for the first scene.
UK supplier tips
Look at eBay UK, Facebook Marketplace, AV forums, ex-hire clearances, university surplus sales and local rental houses. Collect in person if you can. Test every panel for dead pixels, colour uniformity and stuck modules. Ask for the processor that originally drove the wall; mismatched processors are a common false economy. Avoid anything that has been stored damp. Buy one spare panel and a spare数据 cable.
What this setup can and cannot do
It can give you a controlled medium shot, a performance backdrop, a stylised music video and a background that lights your subject. It can save you hours of keying and spill cleanup. It cannot give you a wide desert vista with full parallax in a 2.7m garage. It cannot replace a proper volume for complex camera moves. And it will not fix a weak script.
Start with one wall. Shoot a static test. Learn the flicker, the refresh and the power draw. Then add a side panel when you actually need it. The garage volume is not a shortcut to studio scale. It is a practical tool for micro-budget filmmakers who want more control than green screen and less fantasy than a full stage.